Archived Footage
While VisualCortex works well with Live video sources, it also has first class support for Archived Footage. This essentially means video files.
Video files can come from a number of sources. These include:
- Uploading the video directly into VisualCortex
- Importing from one of the supported integrations
- Storage available to an edge cluster
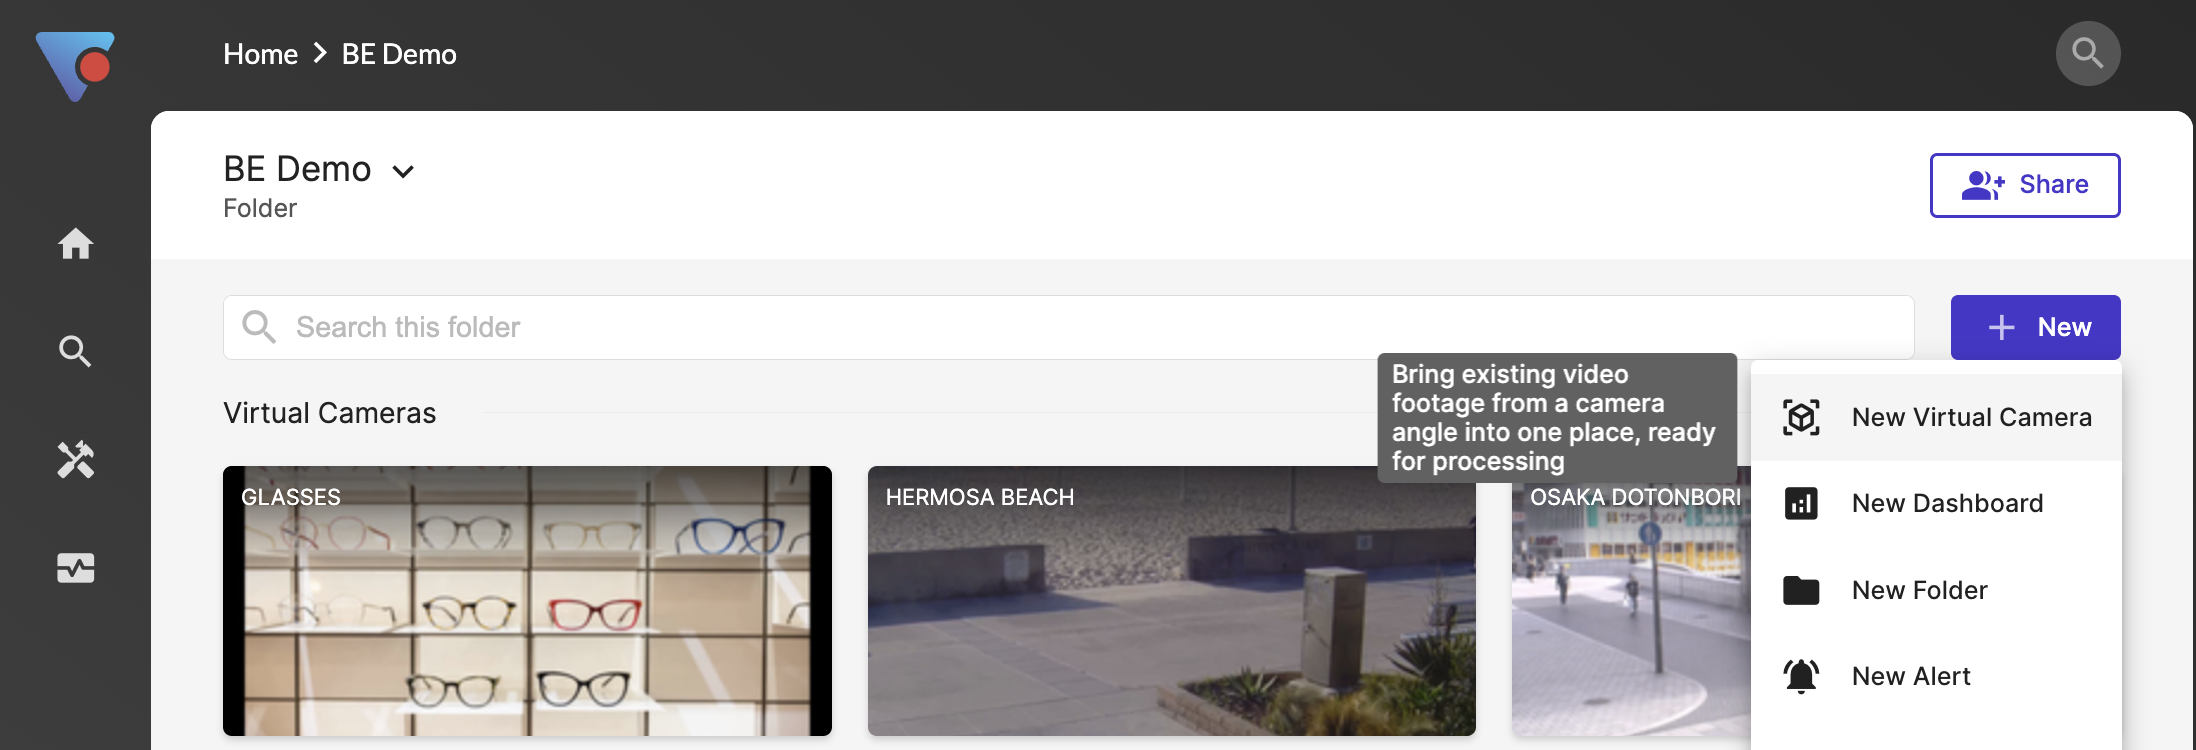
Virtual Cameras
Live footage belongs to a virtual camera. Think of a virtual camera the same way as a live camera, but instead of live video, it uses previously recorded footage.
If you've got footage physically recorded from different cameras, they belong in different virtual cameras. If you've got multiple video files from the same camera, keep them in the same virtual camera.
Creating Virtual Cameras
On the Landing Page or any folder, simply click New and choose Virtual Camera.
You'll be asked for information about the virtual camera, including a name, a timezone and a processing location. This processing location is an edge cluster. Any models you add to this virtual camera will be processed on the selected cluster. You can change clusters after the virtual camera has been created.
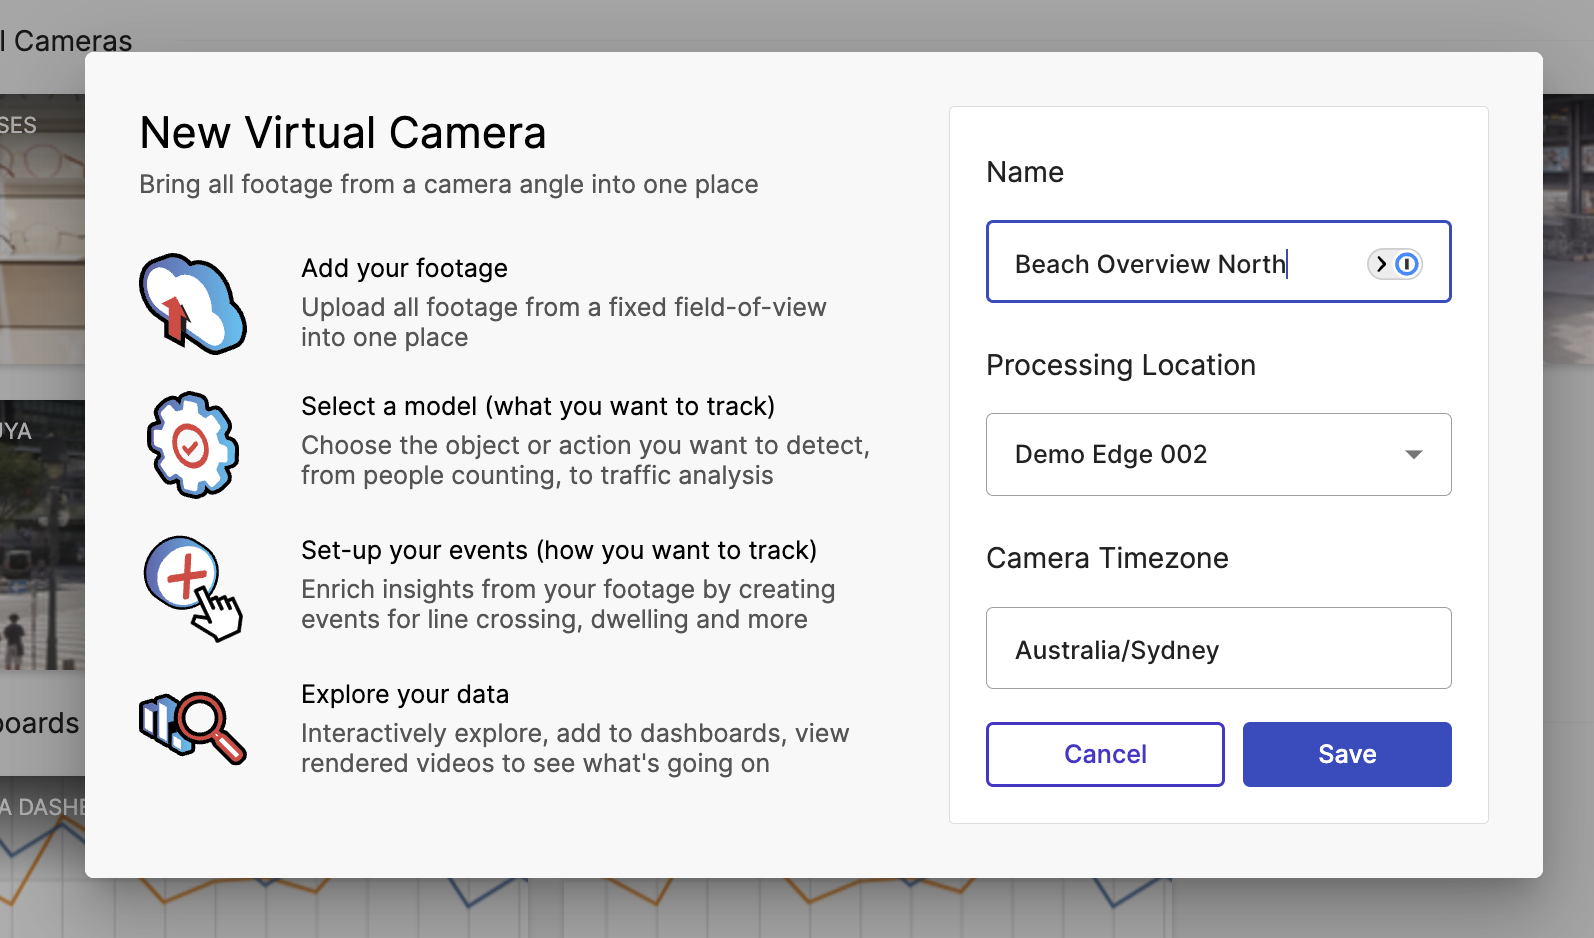
Once you've created the virtual camera, you'll be prompted to either upload or import footage.
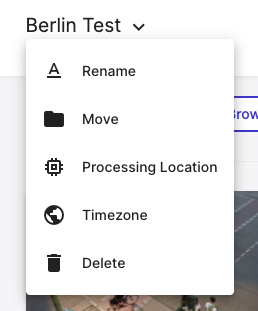
If at any time you wish to change the Edge Cluster which processes your footage, simply change the processing location on the Virtual Camera.
Technical Requirements
VisualCortex supports a wide range of video files. In terms of container formats, we support:
- MP4 / M4V
- MKV
- AVI
- MPEG Transport stream (TS)
In terms of codecs, VisualCortex supports:
- MPEG-2 Video
- H.264
- H.265 / HEVC
- AV1
- VP9
If your video format is unsupported, you can Contact Us and we may be able to add support.
What's next?
Once you have configured your camera, you can add models to it, and set up some dashboards.